
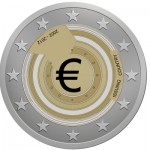
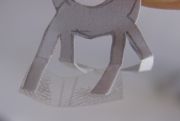
 The design I made for the commemorative coin resulted in a big fail. The fact that I had really though about the design did not help a bit.
In my design all the European countries were united into one big arrow. The arrow was constructed out of various smaller parts. Each little part represents one of the European countries. The side (width) of every part is calculated using the number of inhabitants of a country. The height is dependent of the value of the countries original coin from before the euro, and the starting point is related to the year the country introduced the euro.
All my calculus and drawing efforts have been in vain. To bad. If you want you can still vote for one of the selected coin designs.
 De
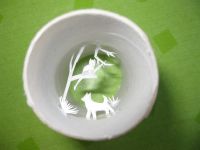
De 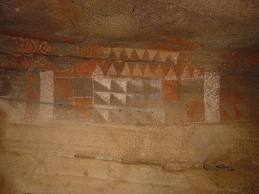 De authentieke canariers (guanches) hebben een aantal grot schilderingen achter gelaten die voor dit doel perfect gerecycled kunnen worden. Verder kunnen we ons repertoir uitbreiden met beschilderingen van hagedissen, stranden, spaanse gehuchtjes, etc.
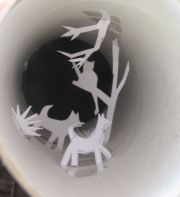
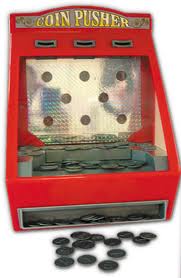 Een ‘pusher’ is een machine die je vaak op kermissen tegenkomt. Je gooit er flink wat muntjes in en die vallen eerst op een plateautje. Hierna worden de muntjes door een schuif van het plateau afgeschoven, en vallen op een verzamelplaat. Hier vallen steeds meer muntjes op, totdat er teveel op leggen en ze van de machine afvallen, zo in je zak.
 Wow, what an
 Thanks to