
 Colored coins are appearing in quick succession, and it seems the Royal Dutch Mint has found a need goose with golden eggs. His time they are selling 10 eurocent coins for 5 euros. Very easy money. The coins are sold as lucky dimes and have the number 10 on the front of the coin painted in orange. The entire set comes packages in a piece of cardboard, ready to be collected. Of course the person collecting this coin will be expected to pay 5000% more than the face value of the coin.
How long will it take this time for a cheaper alternative to arise to the colored coins. It is perfectly legal and with a potential markup of 5000% it seems to be very much worthwhile. It can even get better, you can paint your own coin! Just imagine, a little bit of creativity and a little bit of paint and all of a sudden a 10 cent coins is worth a lot more. Using the KNM markup you could even sell a home painted 2 euro coin for 100 euros.
Needed:
- Colored Enamel Paint
- Metallic Enamel Paint
- Tiny Soft-Bristle Paintbrush
Instructions for painting or coloring an existing coin
1 – Quickly wash existing coin in warm water and mild soap. Use a soft-bristled toothbrush to gently scrub dirt from crevices of the coin’s surface. Pat coin dry with a soft cloth.
2 – Mix enamel paints to a smooth consistency by adding small drops of warm water. If using different colored paints, determine what the finished painted coin will look like. Practice with the paints by drawing a coin on a piece of paper.
3 – Lay the coin backside down on some paper. Carefully paint over the areas of the coin’s face. Let the front side of the coin dry naturally for 3-4 hours before turning it over to paint the backside. If using metallic paints such gold or silver, paint several layers of paint onto the coins. Let one paint layer dry before painting on the next layer.
 The
The 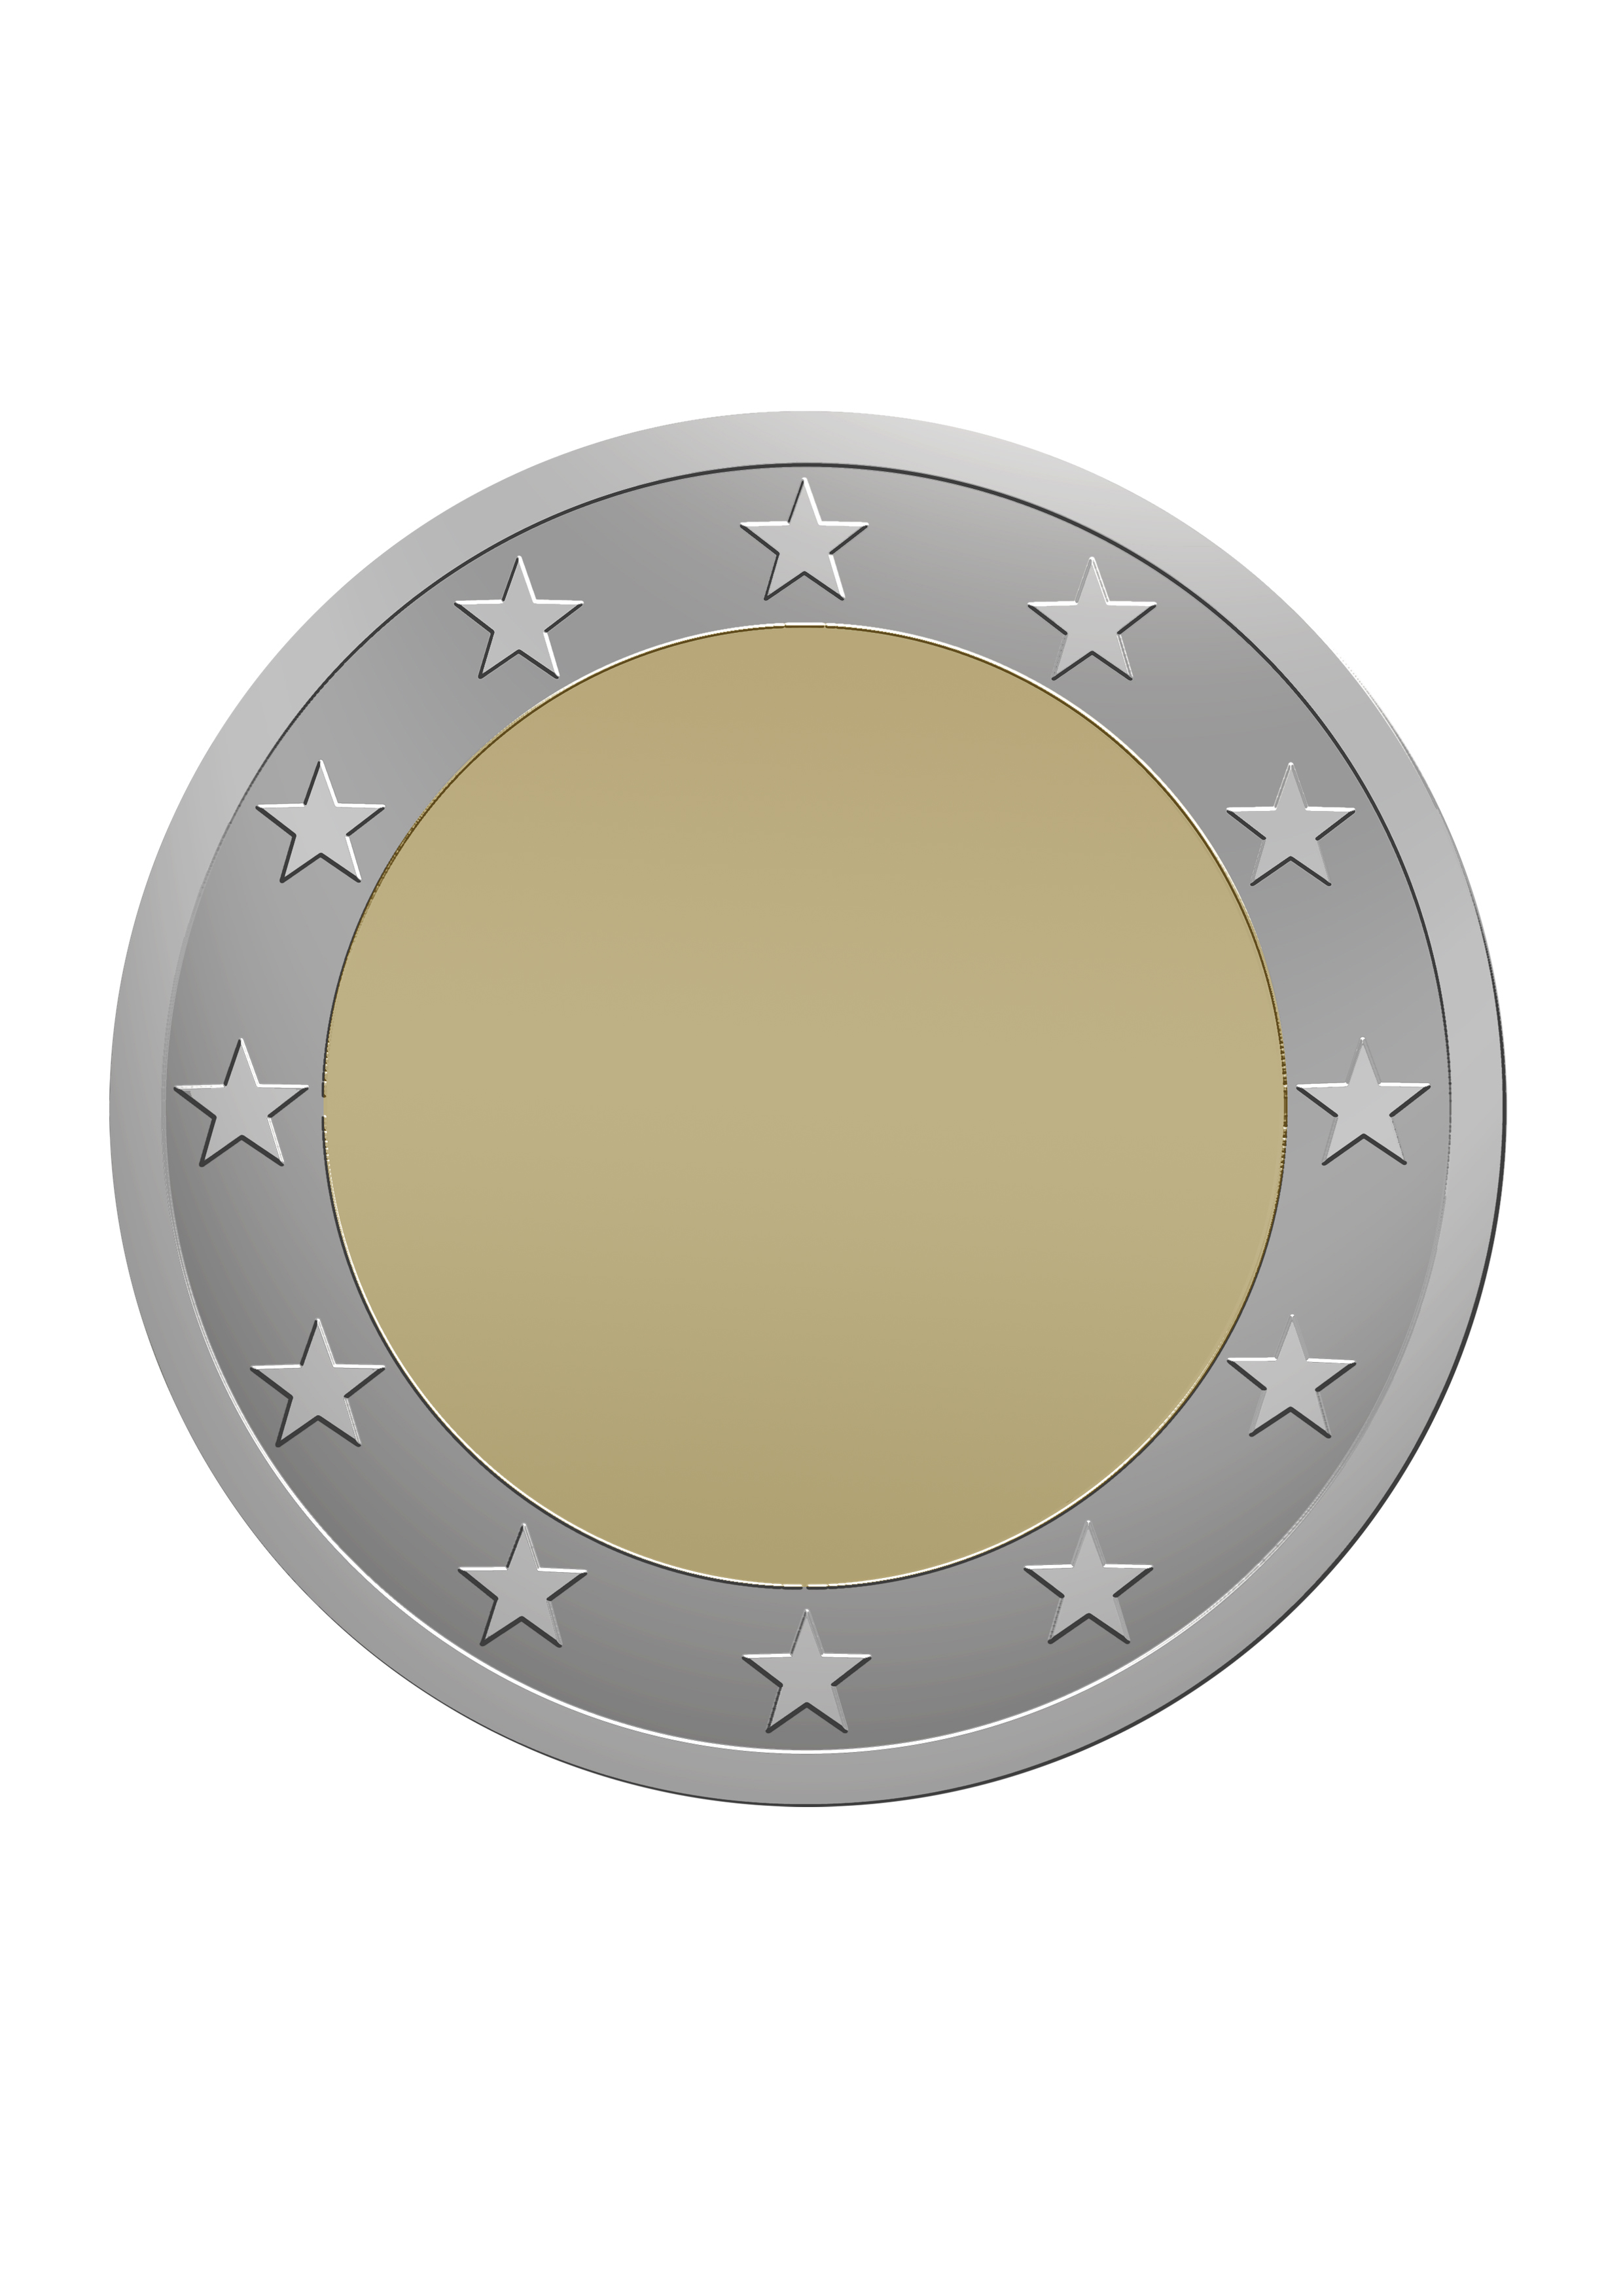
 De
De 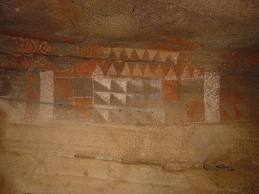 De authentieke canariers (guanches) hebben een aantal grot schilderingen achter gelaten die voor dit doel perfect gerecycled kunnen worden. Verder kunnen we ons repertoir uitbreiden met beschilderingen van hagedissen, stranden, spaanse gehuchtjes, etc.
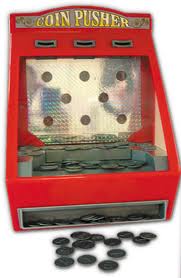 Een ‘pusher’ is een machine die je vaak op kermissen tegenkomt. Je gooit er flink wat muntjes in en die vallen eerst op een plateautje. Hierna worden de muntjes door een schuif van het plateau afgeschoven, en vallen op een verzamelplaat. Hier vallen steeds meer muntjes op, totdat er teveel op leggen en ze van de machine afvallen, zo in je zak.
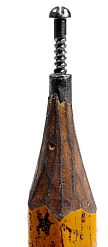 Wow, what an
 Thanks to