
“It was a nice couple of days.”
 I have learned a lot the last couple of years. About nature, history, biology, science, and also about my business, IT, apps and projects. Still it is time to move on, and to broaden my horizon. I’ll be looking for something new, hopefully a bit closer home, in Spain, but I’m flexible and I have no problem working across the border.
First I’ll take it easy for a while, and I’ll see how everything goes with our new treasure, and than again giving it 100%.
 Sometimes you just need to get something that will work and that’s nice and robust. Something good. It might cost a little extra but quality is not cheap. For myself I had a nice desktop computer that was okay, but I needed something more mobile for my work so I started looking for a nice laptop.
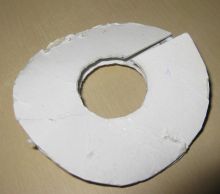 Step 1:
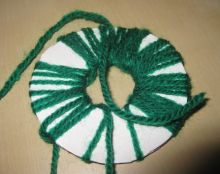 Step 2:
 Step 3: