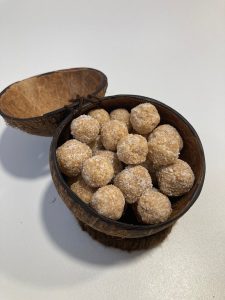
 Super easy, super tasty and super fun to make. What else could you ask for.
Ingredients:
– A package of cookies
– Condensed milk
– A package of coconut powder
Step 1: Throw all the cookies into the blender and mash them up into a fine or semi-fine powder.
Step 2: Mix the cookie powder with a part of the coconut powder and the condensed milk. Mix it all up, and then make small balls of the mix.
Step 3: Roll the balls through the coconut powder and lay them all out on a big plate. When you have all the balls place the plate in the refrigerator. After the balls have turned more firm in the fridge they are all done!
Extra (will take a lot more time preparing):
– Buy one or two coconuts to present your coconut cookies in style.
Use a saw to cut the coconut in half. Use only the part without the three marks, and try and give this part the ideal size you prefer. One of the three marks can be easily pushed in, push a hole in this mark to get all of the liquid out of the coconut. Once drained saw the coconut in half carefully. Take out the white insides with a spoon, and leave the coconut a white so it can dry. Now you need to make the inside and the edge smooth using sandpaper.
You can leave the outside a bit rougher if you like, but it will make the coconut more difficult to clean. I smoothed the top two centimeters of the outside, so it will be nice when using the coconut for drinking. In this case we will not drink from the coco; we will fill it up with the coco-balls we created. The perfect presentation.
Costs: Cheap package of cookies: 1.20, condensed milk: 2.50, coco powder: 2.00, two coconuts: 2.00. Total: 13.97.
Homemade coco-balls presented in a fantastic coco-cup: Priceless

 Alan got a school assignment, because his teacher wanted some help decorating the classroom. Each kid was asked to create a holiday candy cane, and help by the parents was allowed. After hearing about the assignment my creativity got a boost. My idea was simple but I expect it will look pretty good.
  Over 2000 little pieces, two instruction manuals with over 400 pages, without any helping hand! Alan has been working days to build his newest lego set. The
 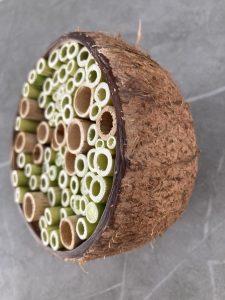 I continue to see new creative projects which I can realize with a simple coconut. After making a drinking cup, a cookie jar and an orchid pot I now recreated a project I already did in the past, but now with a coconut as an important part. My new project is a coco insect hotel. I made an
 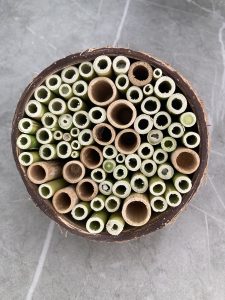 First step was cutting a cocunut in half. This is getting easier every time now that I’m getting some experience. With the coco cut open you need to remove all the white inside. I use a dull knife to cut the white ‘meat’ in small strips which are easy to remove. After drying the empty coconut I sanded the edges and that was the coco part. All done. Now I get some reed, and cut this into small pieces of around 4 cm each. I used two types of reed, new fresh green reed, and older dried up light brown reed. The fresh green reed was easier to deform, so it made it easier to fit inside the coco. Before putting the reed inside the coco I sanded it a little to take away any imperfections. I mixed sizes so that different insect could find different sizes rooms in our hotel.
 Super easy, super tasty and super fun to make. What else could you ask for.
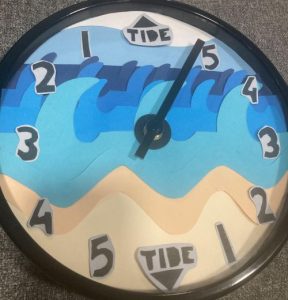 I bought the mechanism for a tidal clock. Basically a regular clock, but instead of showing the hours it will indicate the time it takes to reach high tide and low tide. We love visiting the La Laja beach with low tide, so this is a perfect ‘thing’ to place on the wall. I only bought the mechanism, so I will need to make the entire clock myself. I could have bought a finished product directly, but I did not like the versions that were available. I thought I could do better myself.
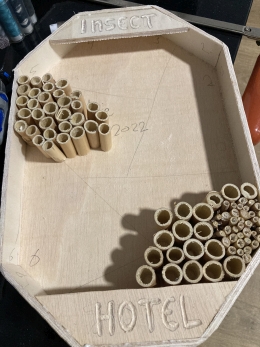
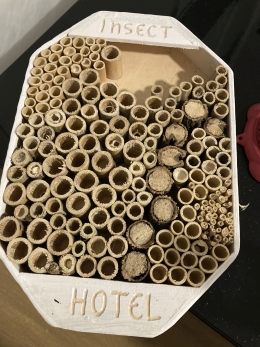
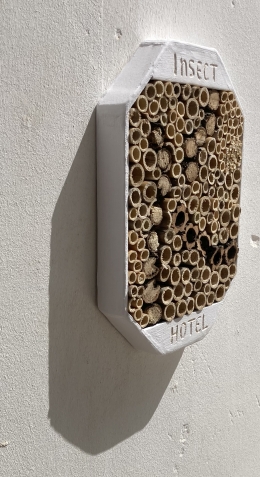 Our birdhouse showed us we that we had set our goals way to high. Our objectives were unobtainable. Maybe it was caused by the heat, or the general lack of birds in our area. We don’t know, but it is clear that after more than half a year we haven’t seen a single bird getting near the birdhouse we placed outside of Alex’ room.
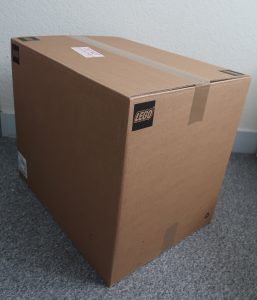 It arrived! A big box was delivered to my home. I am very happy because I know what is inside. Do you know? The kids will be happy for sure, even though Alan will need to be a bit patient. He is still a little small for this box. Alex will be very happy, as it fits perfectly with the small collection he already has.
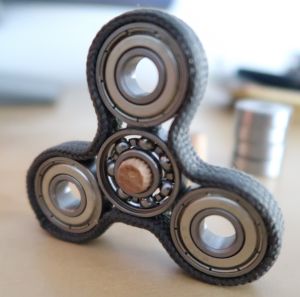 All the kids in Alex’ school have a spinner, except for Alex, and that situation needed to be corrected. Buying a spinner would have been the easiest, but making our own spinning toy was much more fun.